• Skip to primary navigation
  • Skip to main content
  • Skip to primary sidebar
  • About Us
  • Affiliate Disclosure
  • Contact us
  • Cookie Privacy Policy
  • Privacy Policy
  • Sample Page
  • Terms of Use

Kitchen Guide

  • Appliance Reviews
  • Bakeware
  • Buying Guides
  • Product Comparisons
  • Recipes
  • Essentials
  • Cleaning

Bakeware

How to Use and Maintain Your Pyrex Glass Baking Dish

January 30, 2025 by bigfishtavernlagunaadmin Leave a Comment

Pyrex Glass Baking Dish

Pyrex glass baking dishes have been a kitchen staple for decades. Known for their durability and versatility, these dishes are perfect for baking, roasting, and storing food. To maximize the use of your Pyrex dish, proper usage and maintenance are essential. In this guide, we’ll cover everything you need to know about using and caring for your Pyrex glass baking dish to ensure its longevity and performance.

Why Choose a Pyrex Glass Baking Dish?

High-Quality and Durable Material

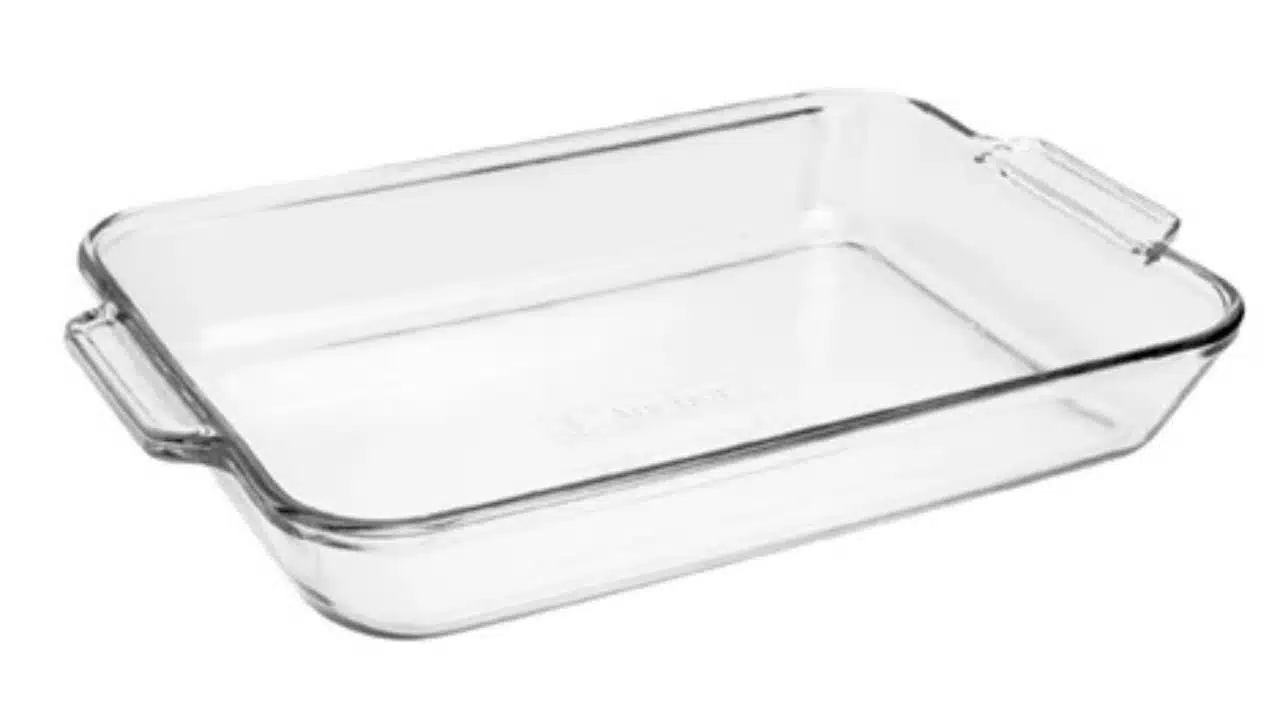
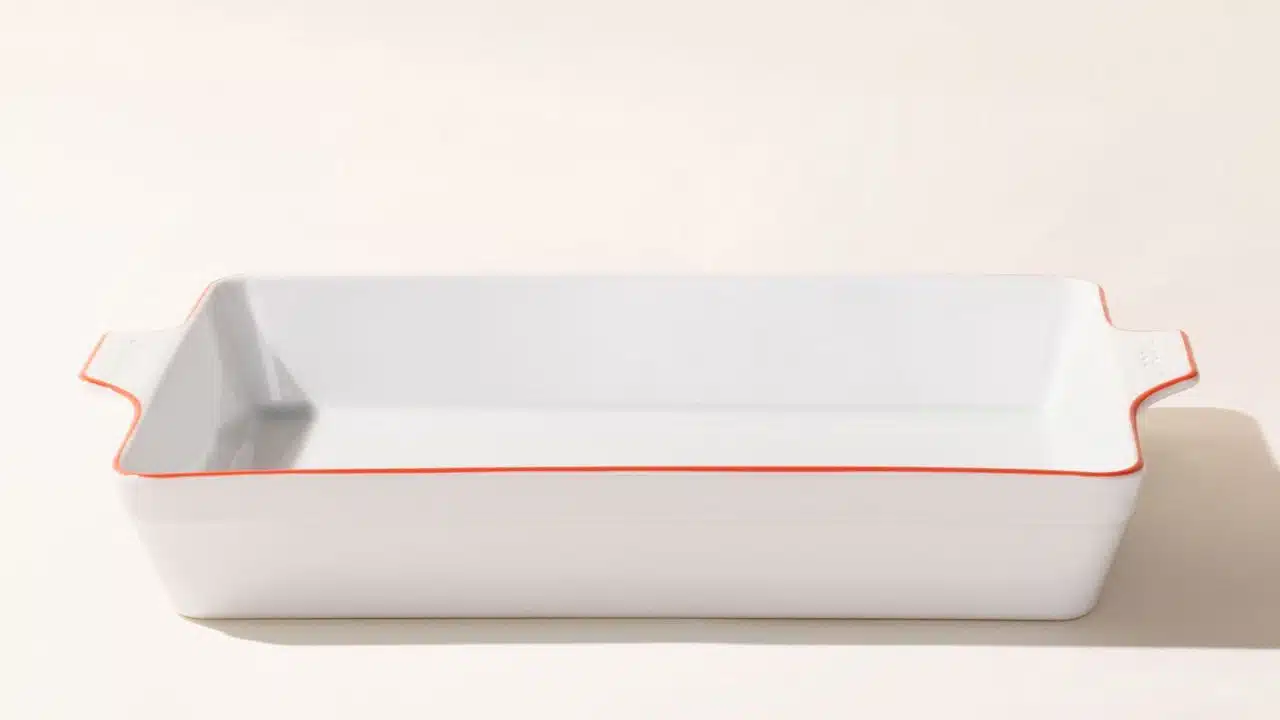
Pyrex glass is made from borosilicate or tempered soda-lime glass, which is designed to withstand high temperatures. Unlike regular glass, Pyrex is less likely to shatter under thermal stress, making it a reliable choice for baking.

Versatile Usage

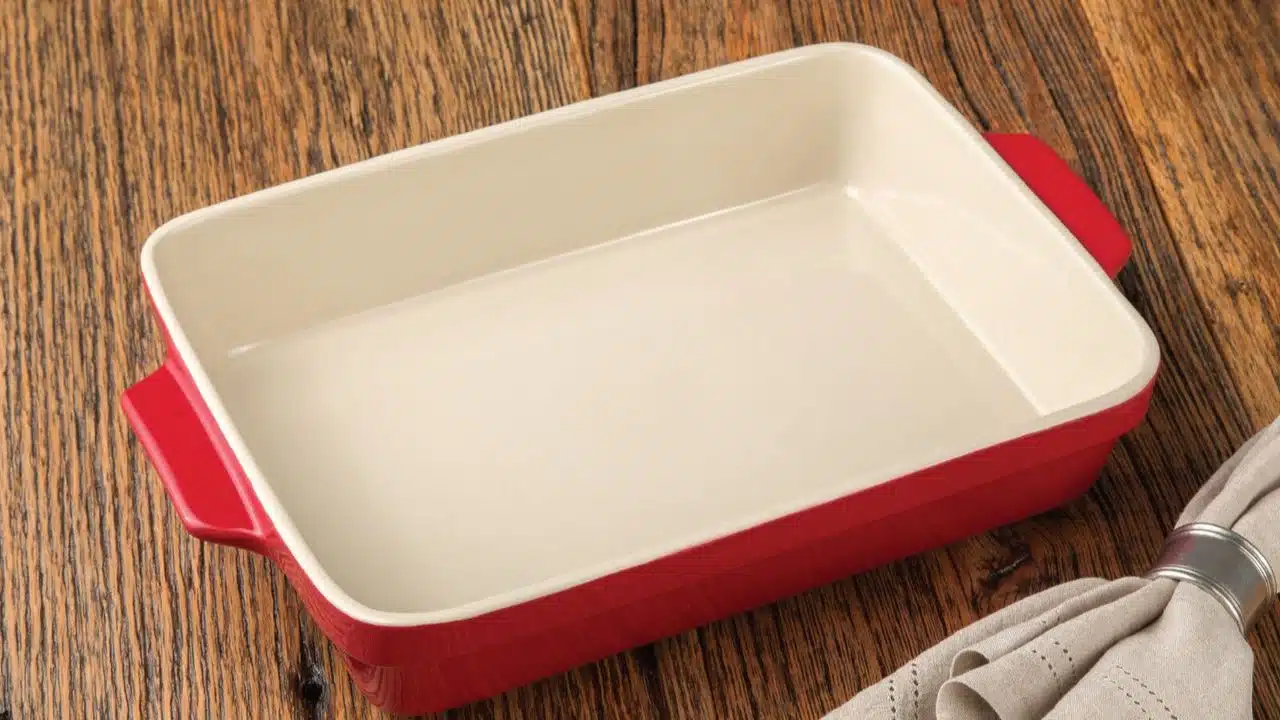
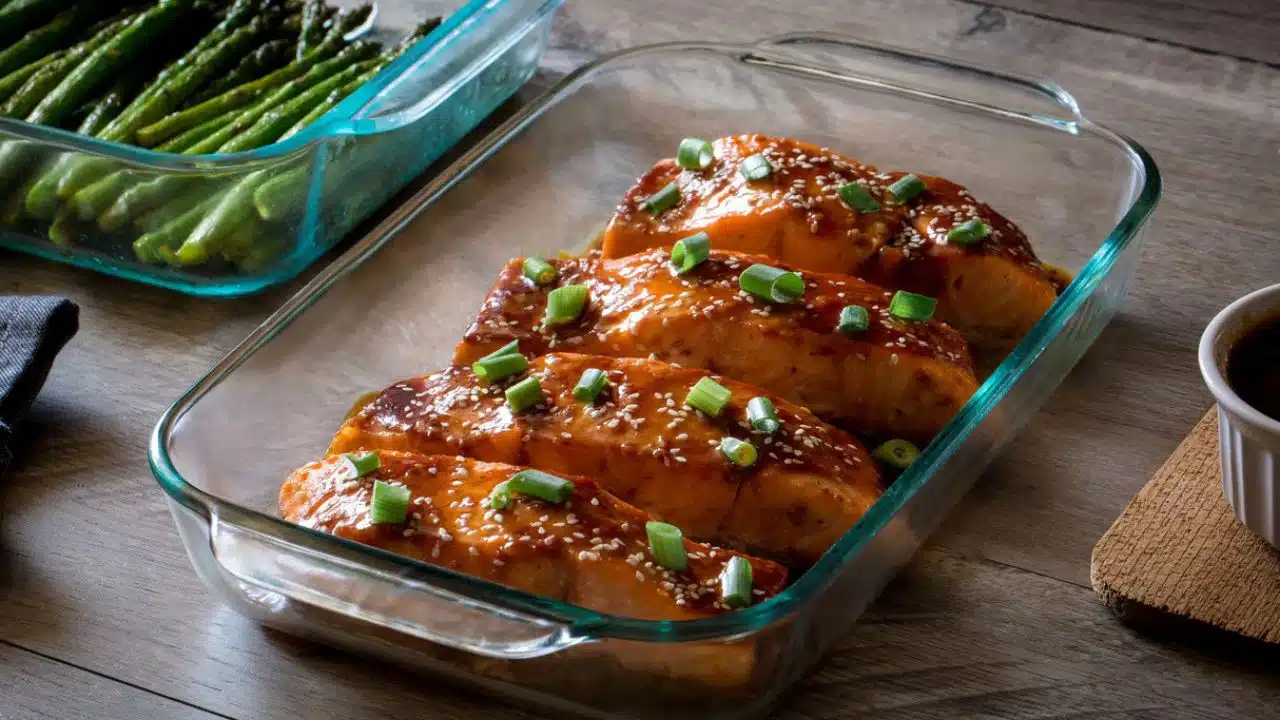
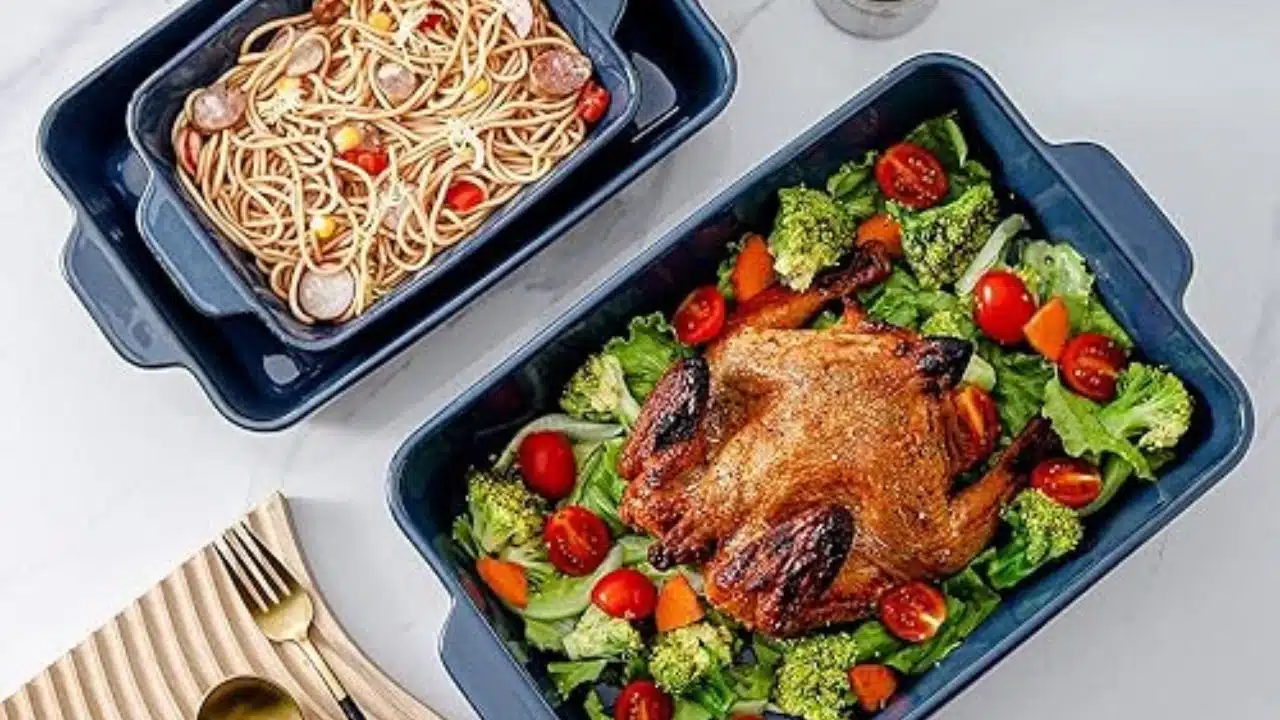
A Pyrex baking dish is suitable for a wide range of cooking methods, including baking casseroles, roasting vegetables, and even refrigerating leftovers. Its ability to go from oven to table makes it a convenient option for home cooks.

Non-Toxic and Safe

Pyrex glass contains no harmful chemicals like BPA or lead, ensuring your food stays safe and pure.

How to Properly Use a Pyrex Glass Baking Dish

To maximize the lifespan of your Pyrex dish and avoid accidents, follow these essential usage tips:

Avoid Sudden Temperature Changes

One of the most common causes of Pyrex breakage is thermal shock. To prevent this:

  • Never place a hot Pyrex dish on a cold surface.
  • Avoid moving it straight from the freezer to a preheated oven.
  • Let frozen dishes thaw before placing them in the oven.

Preheat the Oven Before Use

Pyrex dishes perform best when placed in a preheated oven. Rapid temperature changes can strain the glass, leading to cracks or breakage.

Use Proper Bakeware Support

  • Always place your Pyrex dish on a dry, room-temperature oven rack or baking sheet.
  • Avoid placing it directly on a stovetop or open flame, as this can cause it to shatter.

Use the Right Utensils

To prevent scratching or damaging the surface, choose wooden, silicone, or plastic utensils over metal ones.

How to Maintain and Clean Your Pyrex Glass Baking Dish

Proper cleaning and maintenance can extend the life of your Pyrex dish significantly.

Hand Wash for Longevity

While Pyrex is dishwasher-safe, hand washing with mild dish soap and warm water can help prevent scratches and prolong its life.

Remove Stubborn Stains Safely

Over time, baked-on grease and stains can accumulate. Here’s how to remove them:

  • Allow the dish to soak in a baking soda and warm water mixture for 15-20 minutes.
  • Gently use a non-abrasive sponge or brush to scrub away stains.
  • For tough stains, vinegar and baking soda paste can help lift residue.

Store with Care

  • Stack Pyrex dishes carefully with protective padding to prevent any chipping.
  • Avoid overloading cabinets where dishes may fall and break.

Inspect for Damage

Before each use, check for cracks or chips. Using a damaged Pyrex dish can lead to unexpected breakage in the oven.

How to Store Your Pyrex Glass Baking Dish

Properly storing items prevents damage and helps keep your kitchen organized. Here are some tips:

Stack with Care – If stacking multiple Pyrex dishes, place a paper towel or soft liner between them to prevent scratching.

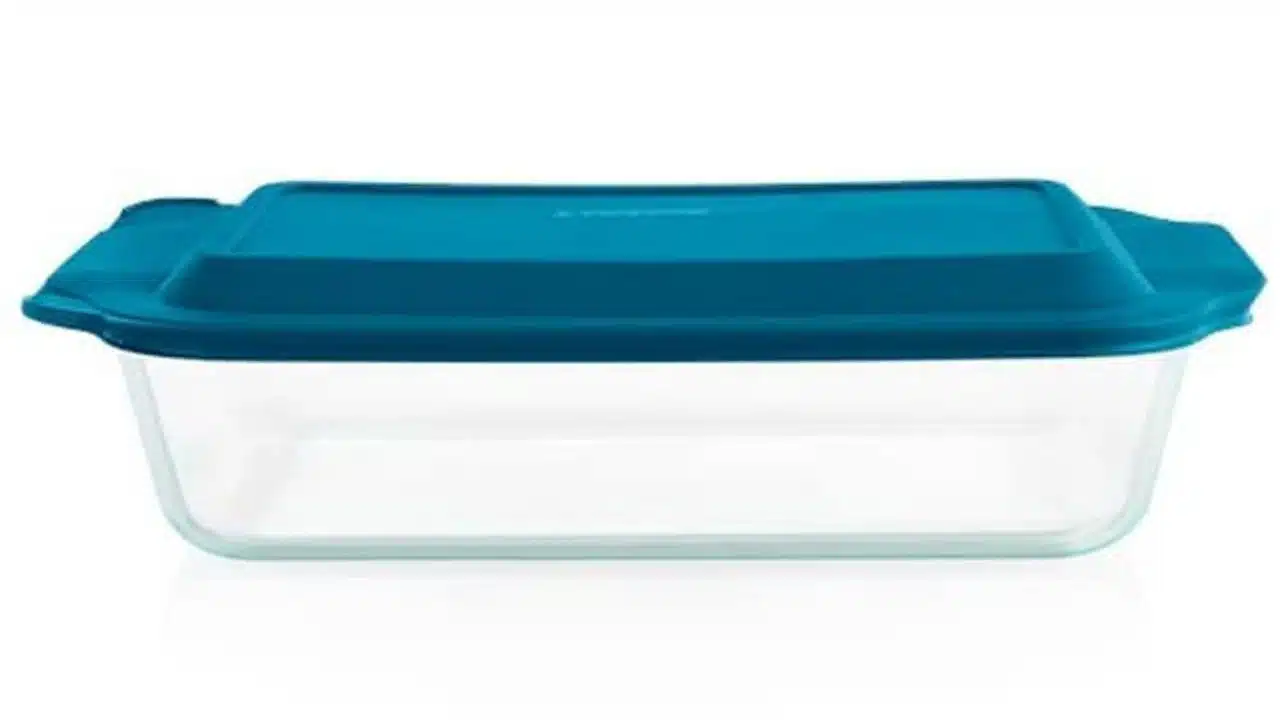
Store Lids Separately – If your Pyrex comes with plastic lids, store them separately or loosely on top to prevent warping.

Keep heavy objects away – avoid placing heavy kitchenware on stacked Pyrex dishes to prevent breakage.


Common Mistakes to Avoid When Using Pyrex

  1. Placing a Hot Dish in Cold Water – This can cause the glass to shatter instantly.
  2. Cooking on a Stovetop – Pyrex is not designed for direct heat from a stovetop burner.
  3. Ignoring Small Cracks – Even small cracks can cause breakage while baking.
  4. Using Metal Utensils – These can scratch and weaken the surface over time.
  5. Skipping Preheating – Sudden exposure to high heat can stress the glass.

Final Thoughts

A Pyrex glass baking dish is an excellent investment for any kitchen. By following the right usage and maintenance practices, you can ensure that your dish remains in great condition for years. Always avoid sudden temperature changes, clean it gently, and store it carefully to maximize its lifespan.

By applying these expert-backed tips, you can make the most out of your Pyrex glass baking dish while keeping it safe and functional for all your baking needs. Whether you’re an experienced baker or a home cook, maintaining your Pyrex dish properly will help you enjoy hassle-free cooking for years to come!

FAQs About Pyrex Glass Baking Dishes

Can Pyrex go from freezer to oven?

It is not recommended to place a frozen Pyrex dish directly into a hot oven, as it may shatter due to thermal shock. Let it reach room temperature first.

Can Pyrex be used in an air fryer?

Some air fryers allow glass bakeware, but check your appliance manual first. Ensure the Pyrex dish fits securely and remains clear of direct contact with the heating elements.

 Is Pyrex better than metal baking pans?

Pyrex is excellent for even heat distribution and is non-reactive, but metal pans heat up faster and may provide better browning for certain recipes.Depending on the dish you’re preparing, each option provides its own benefits.

Can I use Pyrex on a stovetop?

No, Pyrex should never be used on direct heat sources like gas or electric stovetops, as it can break.

Filed Under: Bakeware

2-Quart Baking Dish vs 9×13: Key Differences

January 21, 2025 by bigfishtavernlagunaadmin Leave a Comment

2-Quart Baking Dish

Selecting the right dish is essential to ensure your baking recipe turns out perfectly. Whether you’re baking a lasagna, casserole, brownies, or even roasting vegetables, the size and shape of the baking dish play a critical role. Among the most commonly debated baking dish sizes are the 2-quart baking dish and the 9×13 baking dish. At first glance, they may seem interchangeable, but these two dishes have unique features and uses that cater to different recipes.

This guide dives into the key differences between these baking essentials, helping you choose the right one for your kitchen needs.

What is a 2-Quart Baking Dish?

2-Quart Baking Dish


A 2-quart baking dish typically has a capacity of 2 quarts (or 8 cups) and comes in various shapes, such as round, square, or oval. A 2-quart dish typically measures 8×8 inches for square dishes or 11×7 inches for rectangular ones.

Key Features of a 2-Quart Baking Dish

Size: Holds approximately 2 quarts of liquid, making it ideal for smaller recipes or side dishes.

Shape Options: Available in round, square, and oval configurations.

Versatility: Great for dishes like side casseroles, cobblers, and small-scale lasagnas.

Portion Control: Perfect for 2-4 servings, making it a go-to for small families or individuals.

2-Quart Baking Dish

Best Uses for a 2-Quart Baking Dish

  • Single-layer brownies
  • Scalloped potatoes for a smaller group
  • Macaroni and cheese
  • Fruit crumbles or cobblers

What is a 9×13 Baking Dish?

 9x13 Baking Dish

The 9×13 baking dish is a kitchen staple for most households. With a capacity of approximately 3.5 to 4 quarts, it’s larger than a 2-quart dish and offers ample space for hearty, family-sized meals.

Key Features of a 9×13 Baking Dish

 9x13 Baking Dish

Size: Holds up to 4 quarts of liquid, accommodating larger recipes.

Shape: Rectangular and spacious, providing even cooking and more surface area.

Versatility: Suitable for everything from layered casseroles to sheet cakes.

Portion Size: Serving 6-8 people, it’s ideal for families or group gatherings.

 9x13 Baking Dish

Best Uses for a 9×13 Baking Dish

  • Lasagna with multiple layers
  • Large casseroles, such as chicken and rice
  • Sheet cakes or bar cookies
  • Roasted vegetables or meats for a crowd

Key Differences Between a 2-Quart Baking Dish and a 9×13 Dish

Capacity

The most significant difference lies in their capacity. A 2-quart dish holds about 8 cups of liquid, while a 9×13 dish can hold 14-16 cups. Recipes designed for a 9×13 dish cannot be fully accommodated in a 2-quart dish without overflow.

Portion Size

A 2-quart dish is best for 2-4 servings, making it suitable for intimate meals. The 9×13 dish, on the other hand, is designed for larger portions, serving 6-8 people comfortably.

Cooking Time and Heat Distribution

  • A 2-quart dish has a smaller surface area, leading to faster cooking times for certain recipes, especially those that require even heating in a compact space.
  • The 9×13 dish’s larger surface area allows for more even cooking across a greater volume but might require slightly longer bake times for certain recipes.

Recipe Adjustments

If you’re scaling a recipe up or down, it’s essential to match the baking dish size. For example:

  • Halving a 9×13 recipe typically works well in a 2-quart dish.
  • Doubling a 2-quart recipe often fits perfectly into a 9×13 dish.

Types of Recipes

  • The 2-quart dish excels in side dishes or desserts.
  • The 9×13 dish is best for main courses and recipes meant to feed a crowd.

How to Choose the Right Dish for Your Recipe

Consider the Recipe’s Ingredients

  • For recipes with fewer layers (e.g., single-layer brownies or cobblers), a 2-quart dish suffices.
  • For recipes with multiple layers, such as lasagna or layered desserts, a 9×13 dish provides the needed depth and space.

Think About Serving Size

If you’re cooking for 2-4 people, a smaller 2-quart dish will prevent waste. However, if you’re hosting a dinner party or preparing a meal for the week, the 9×13 dish is the better choice.

Adjust for Cooking Time

Smaller dishes often require shorter cooking times, while larger dishes may take longer due to increased volume.

Tips for Baking Success

Optimize for Even Cooking

Regardless of the dish size, ensure your ingredients are spread evenly. Uneven distribution can lead to overcooked edges and undercooked centers.

Don’t Overfill the Dish

Filling a baking dish too full can cause spillage and uneven cooking.Ensure there’s at least one inch of space from the top of the dish, and consider both the material and depth.

Consider Material and Depth

The material of your baking dish (e.g., glass, ceramic, metal) impacts heat retention and distribution. For both 2-quart and 9×13 dishes, ceramic and glass offer even cooking but may require longer preheating.

Conversion Tips: Scaling Recipes Between Dish Sizes

If you only have one dish size available, you can scale recipes as follows:

  • To scale down from a 9×13 to a 2-quart dish: Halve the ingredients and reduce cooking time by 25%.
  • To scale up from a 2-quart dish to a 9×13 dish: Double the ingredients and increase cooking time by 25%, checking periodically.

Final Thoughts

The choice between a 2-quart and a 9×13 baking dish depends on the recipe’s size, serving needs, and cooking requirements. Each has its place in a well-equipped kitchen, and knowing when to use which will elevate your culinary creations.

Filed Under: Bakeware

Primary Sidebar

Recent Posts

  • Can You Deep Fry in a Nonstick Pan? My Surprising Results
  • Clay Pot vs Dutch Oven: Which One Right for You?
  • Are Dutch Ovens Non Toxic? All You Need to Know
  • Is Low Specific Heat Capacity Good for Frying Pans​
  • Smeg Kettle vs Mini Kettle: Which One Fits Your Style?

Copyright © 2024 bigfishtavernlaguna.com. All right reserved.