Oxtails are a hidden gem in the culinary world, prized for their rich, meaty flavor and melt-in-your-mouth tenderness when slow-cooked. If you’ve ever wanted to master how to cook oxtails in a crock pot, this guide will take you through every step, ensuring a deeply flavorful, comforting meal that your family will love. I’ve been cooking oxtails for years, and the crock pot method is by far my favorite. The flavors just meld together so beautifully, and the meat turns out so tender that it practically falls off the bone.
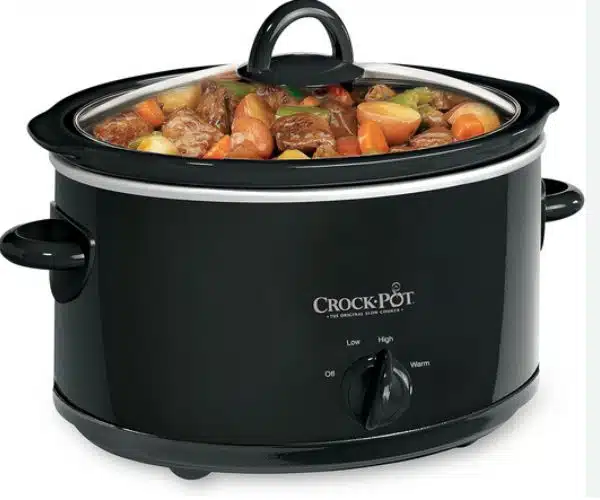
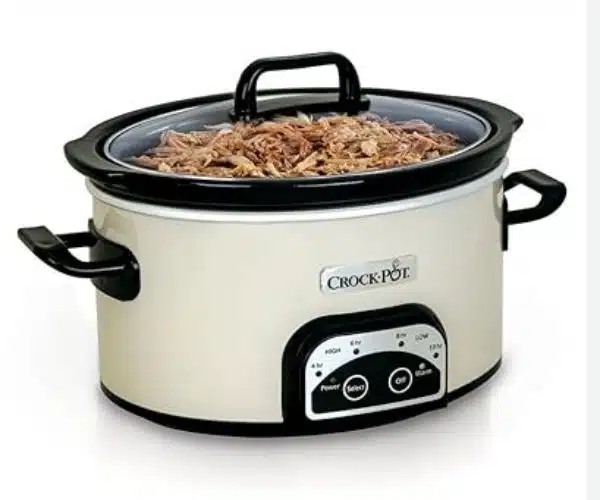
Why Use a Crock Pot for Oxtails?
Oxtails contain a lot of connective tissue and collagen, which break down beautifully over time, creating a luxurious, savory dish. Here’s why a crock pot is the perfect tool:
- Maximum Flavor – The long cooking time allows the seasoning to penetrate deeply into the meat. If you’ve never cooked oxtails this way, trust me, the flavors are so much richer when you let the crock pot do the work.
- Unmatched Tenderness – Slow cooking transforms the tough meat into fall-off-the-bone goodness. Honestly, I’ve made oxtails several times in different ways, and slow cooking in a crock pot is by far the best method for tender meat.
- Effortless Cooking – Just set it and forget it! No need to monitor constantly. It’s so easy, and the best part is that you can go about your day while the crock pot works its magic.
Step-by-Step Guide: How to Cook Oxtails in a Crock Pot
Ingredients
Oxtails:
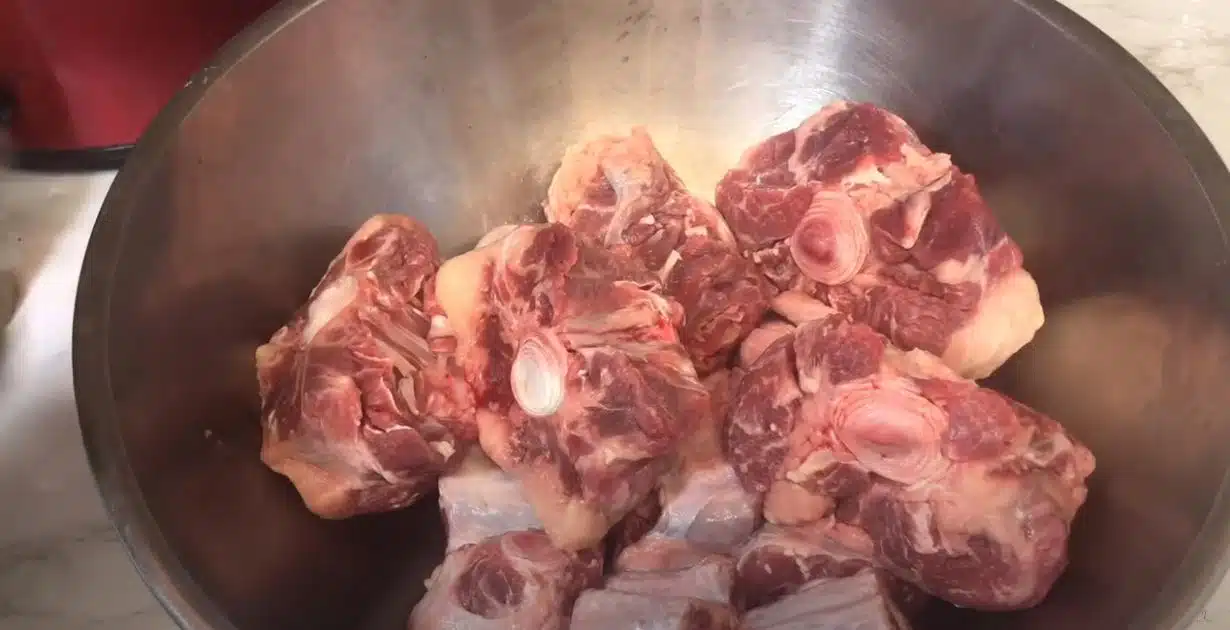
2 packs of oxtails (approximately 4-5 lbs total)
Seasoning and Marinade:
-
-
- 1 medium green bell pepper, chopped
- 1/2 large onion, minced
- 1.5 tablespoons brown sugar
- 2 chicken bouillon cubes (or 2 teaspoons of powder)
- 2-3 tablespoons Caribbean oxtail seasoning
- 2 Sazon seasoning packets
- 1 tablespoon garlic powder
- 2 tablespoons onion powder
- 1 tablespoon paprika
- 2 tablespoons Worcestershire sauce
- 1 tablespoon low sodium soy sauce
- 2 tablespoons Jamaican Browning sauce
- Salt and pepper to taste
-
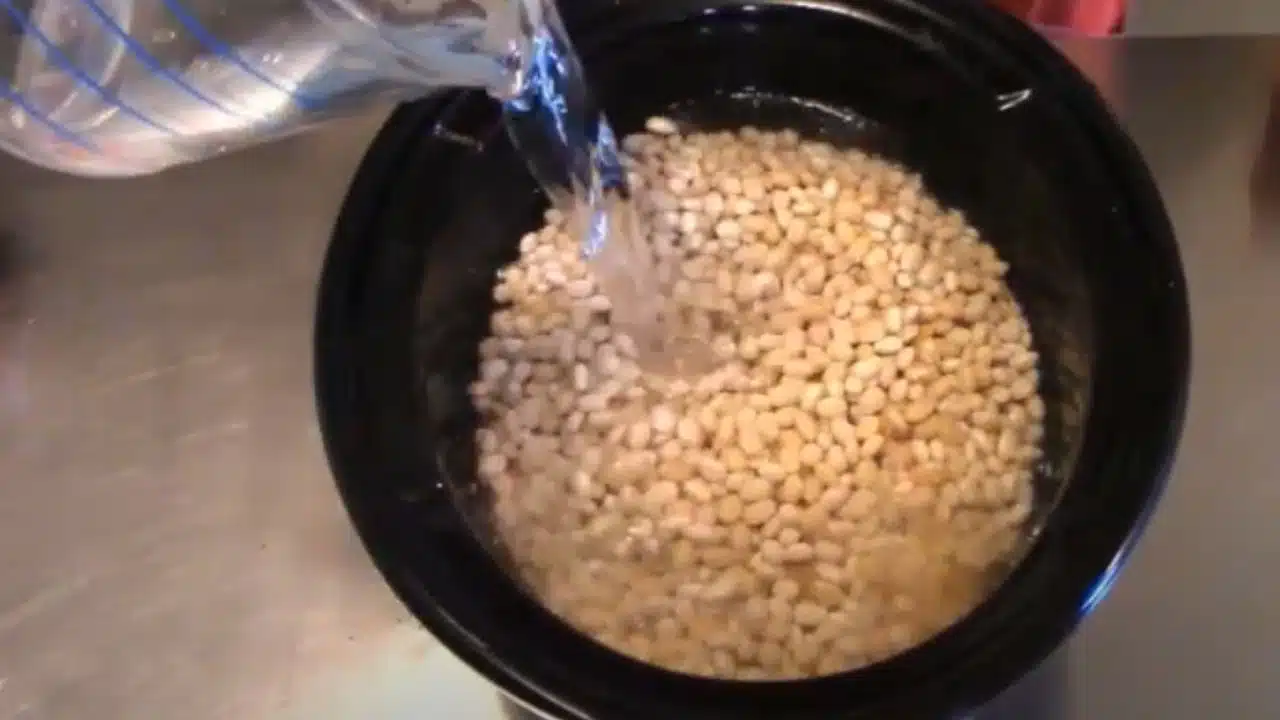
Liquid:
4 cups water or beef broth
Thickening Agent:
1/2 cup flour
Oil for Cooking:
4 tablespoons oil (for browning the oxtails)
Instructions
Prepare the Oxtails:
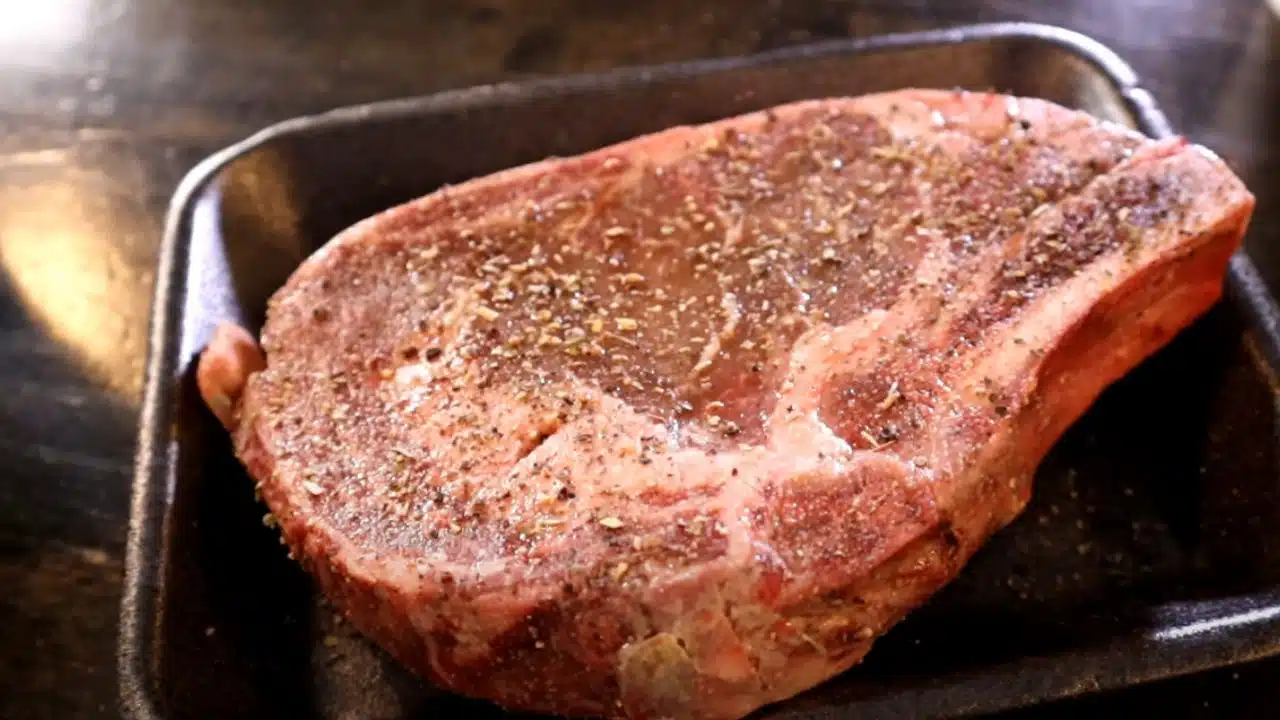
Clean the oxtails and place them in a large bowl.
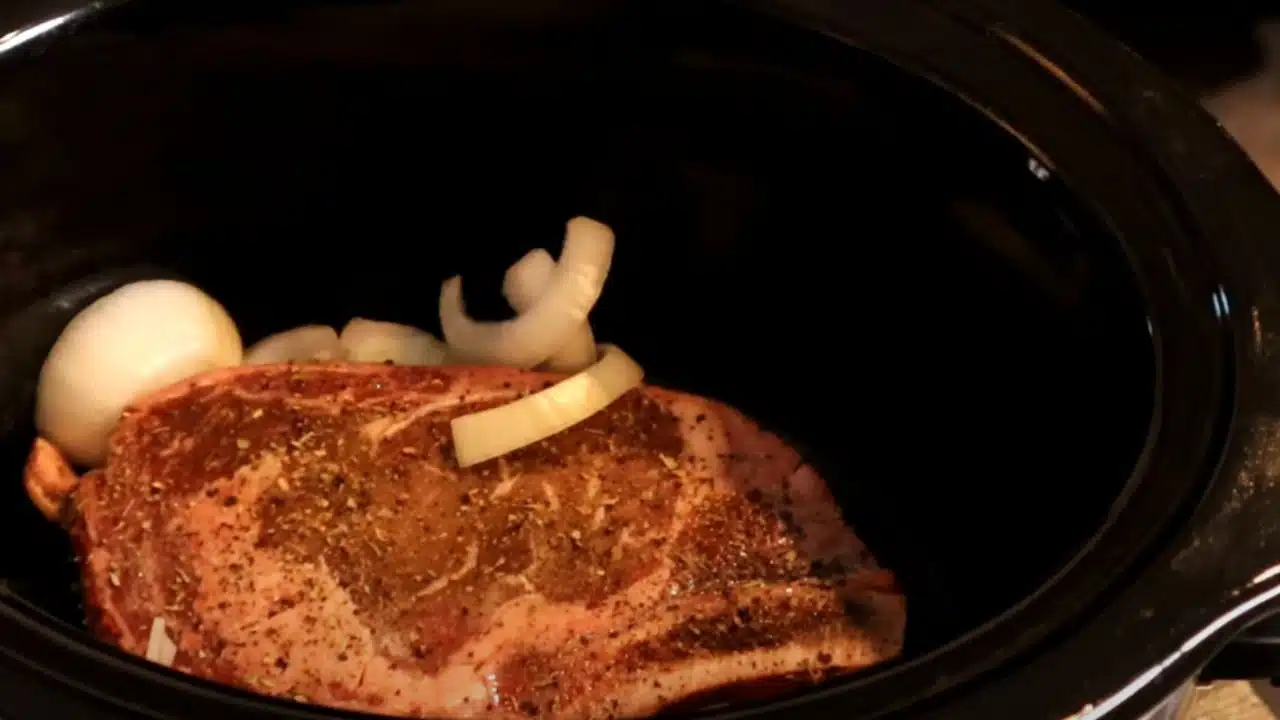
Add the green bell pepper, minced onion, brown sugar, and all the seasonings (chicken bouillon, Caribbean seasoning, Sazon packets, garlic powder, onion powder, paprika, Worcestershire sauce, soy sauce, and Jamaican Browning sauce).
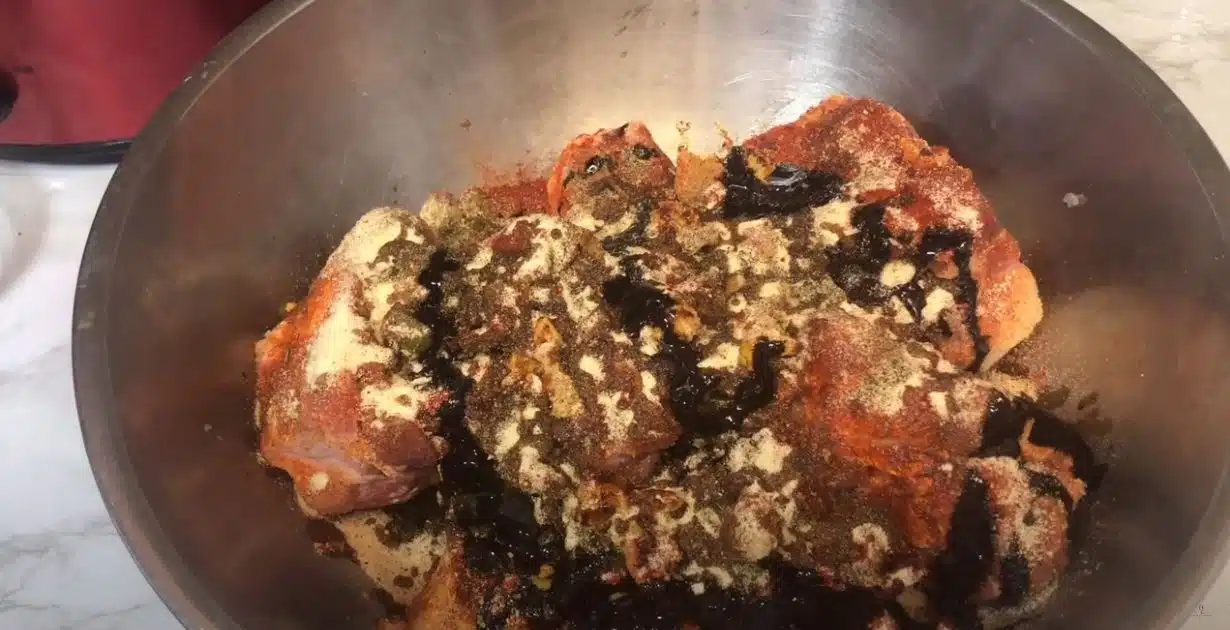
Mix thoroughly to ensure all oxtails are well-coated with the marinade. This step is crucial for flavor.
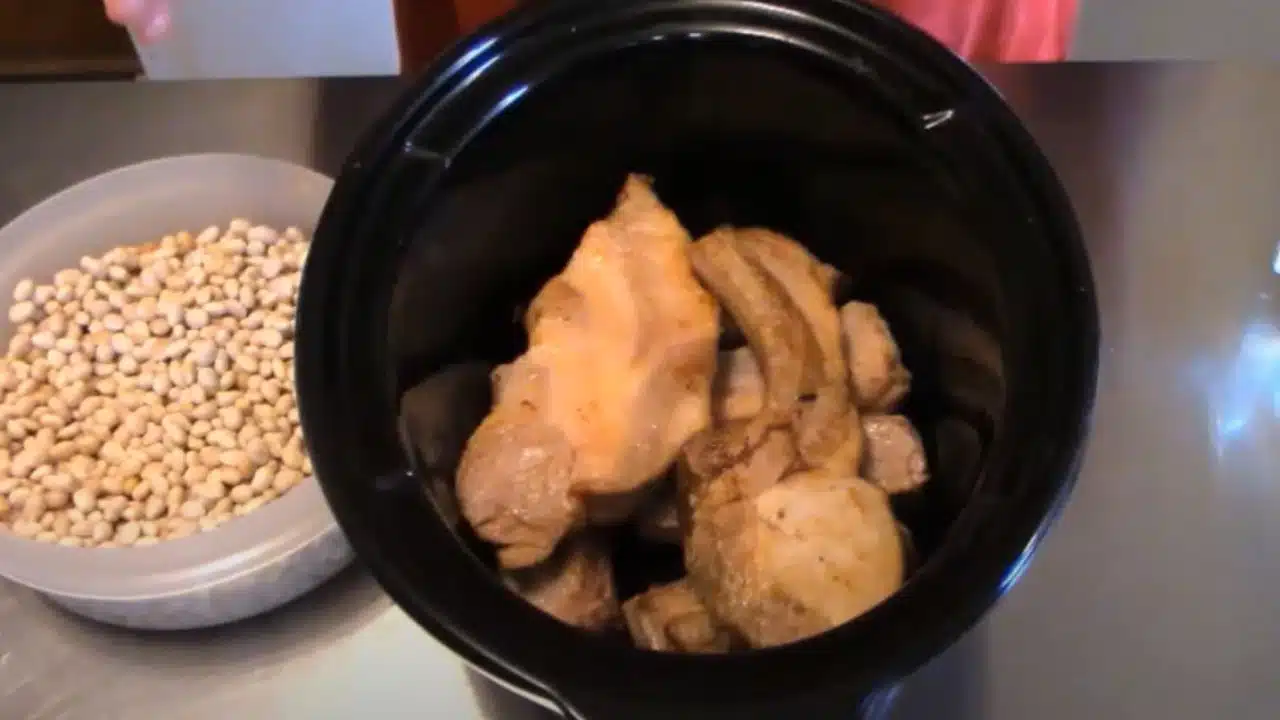
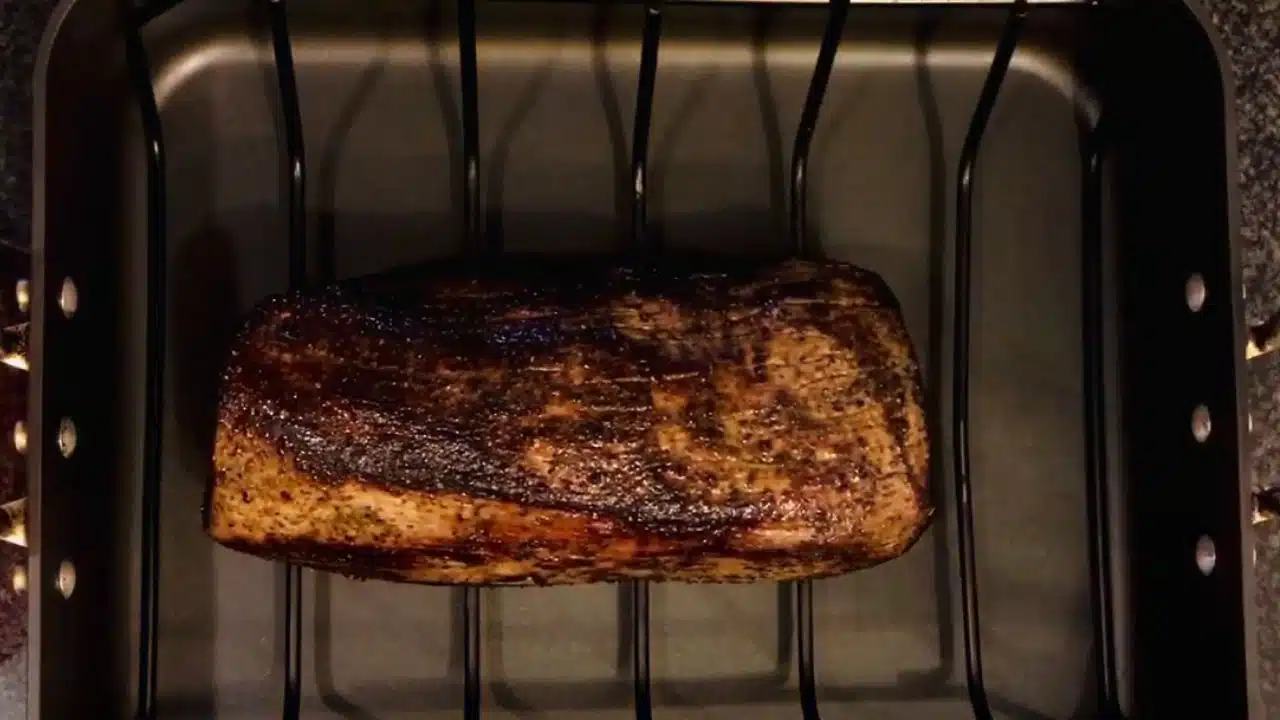
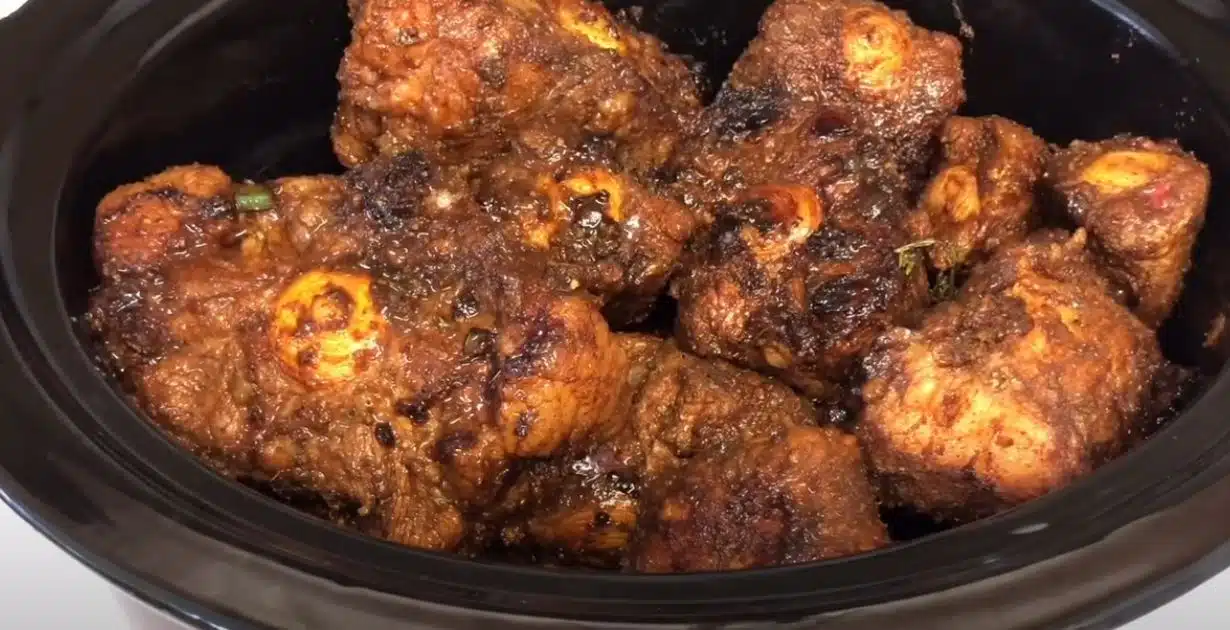
Brown the Oxtails:
Heat oil in a large skillet over medium-high heat.
In batches, sear the seasoned oxtails on all sides until they are golden brown (about 3-4 minutes per side). This step enhances flavor through caramelization.
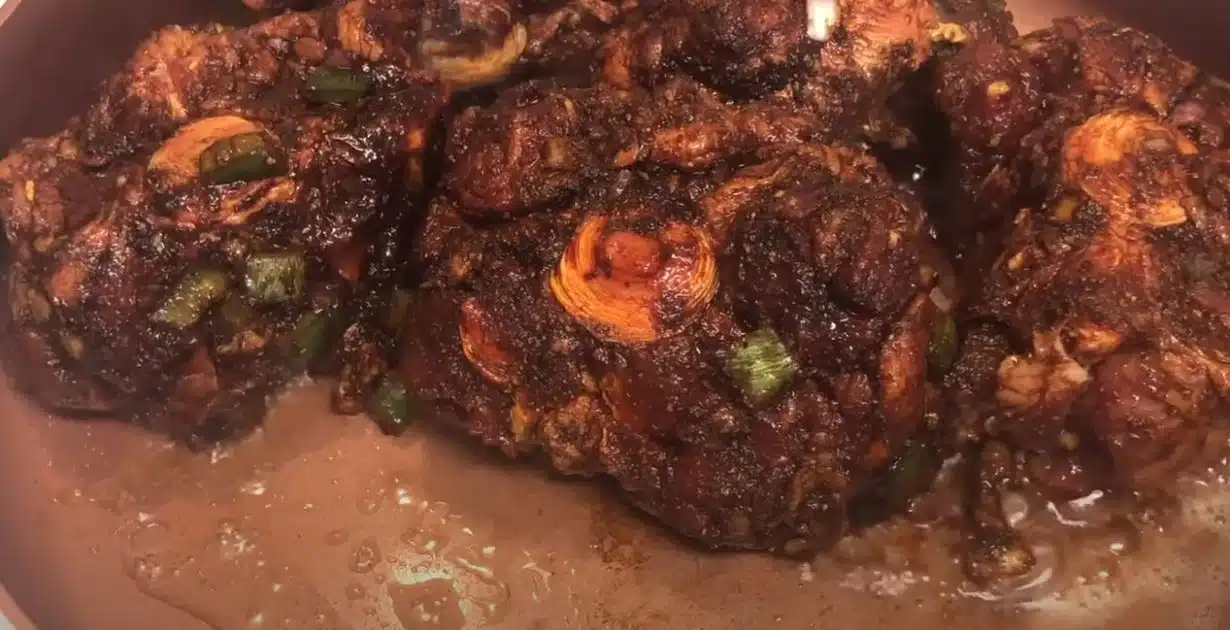
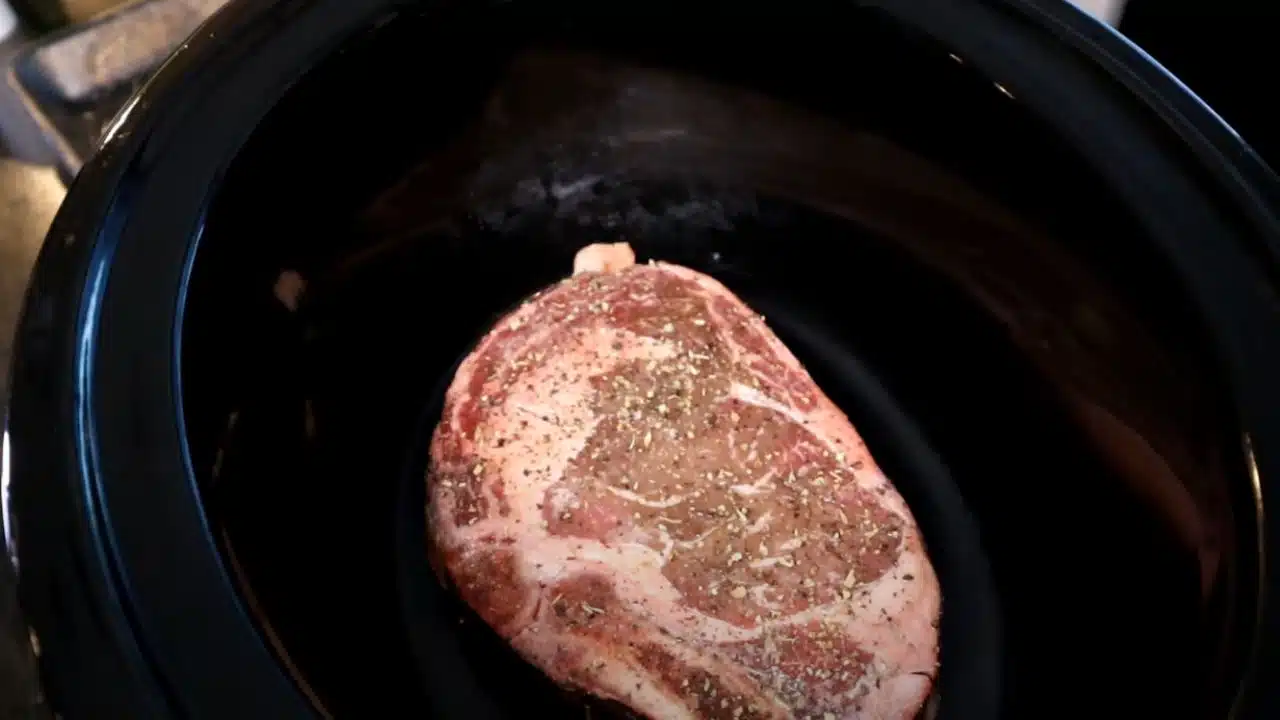
Transfer the browned oxtails to the slow cooker.
Prepare the Gravy:
In the same skillet used for browning, add a bit more oil if necessary.
Add chopped onions and bell peppers; sauté until softened and fragrant (about 3-4 minutes).
Stir in tomato paste and cook for an additional minute.
Sprinkle flour over the sautéed vegetables and stir to coat evenly.
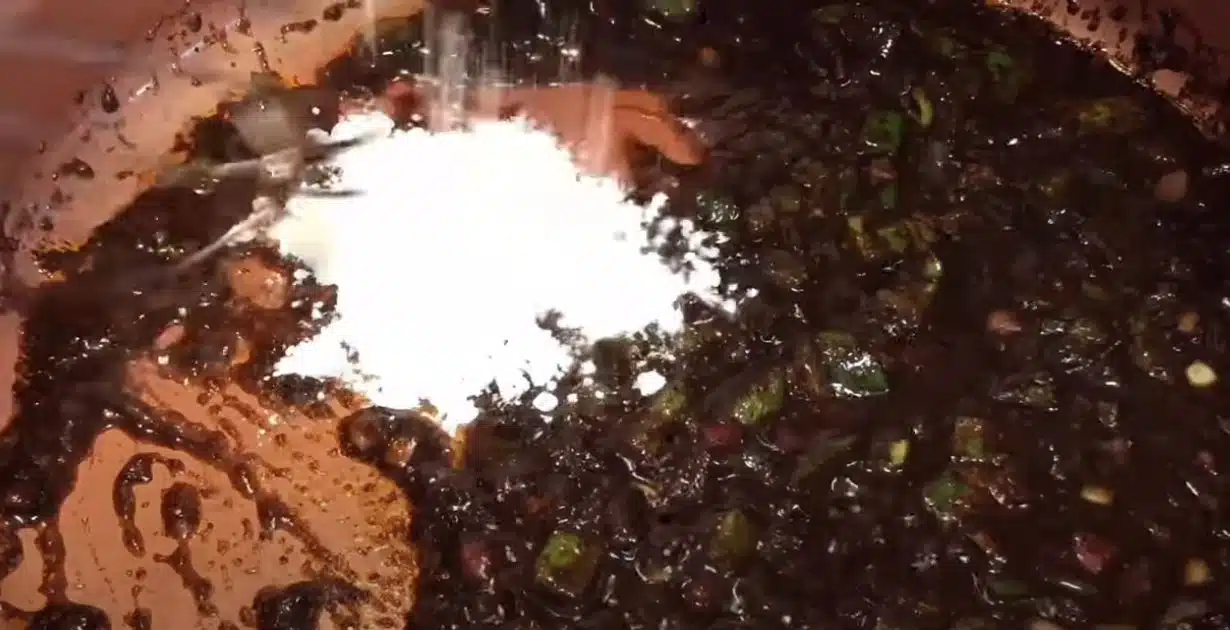
Gradually whisk in beef broth or water to deglaze the skillet, scraping up any browned bits from the bottom. This adds depth to your gravy.
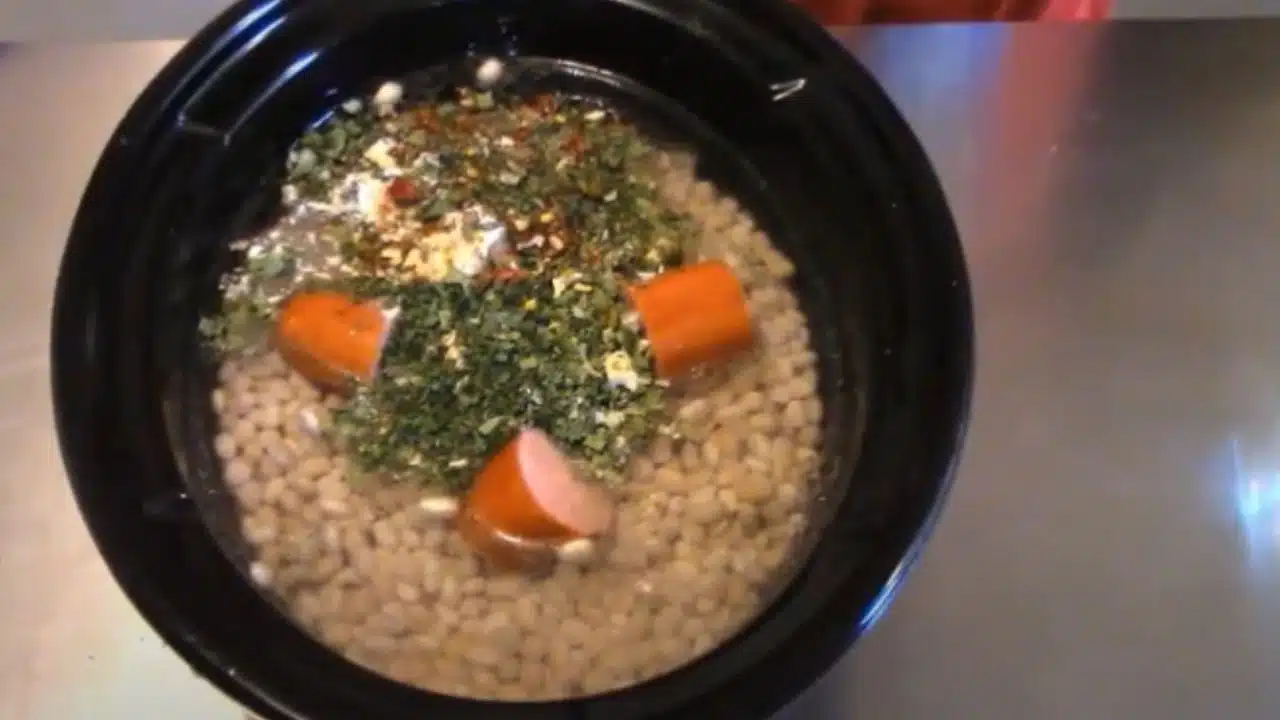
Add Worcestershire sauce, cayenne pepper (if using), thyme sprigs, and bay leaf. Allow the gravy to thicken slightly while stirring.
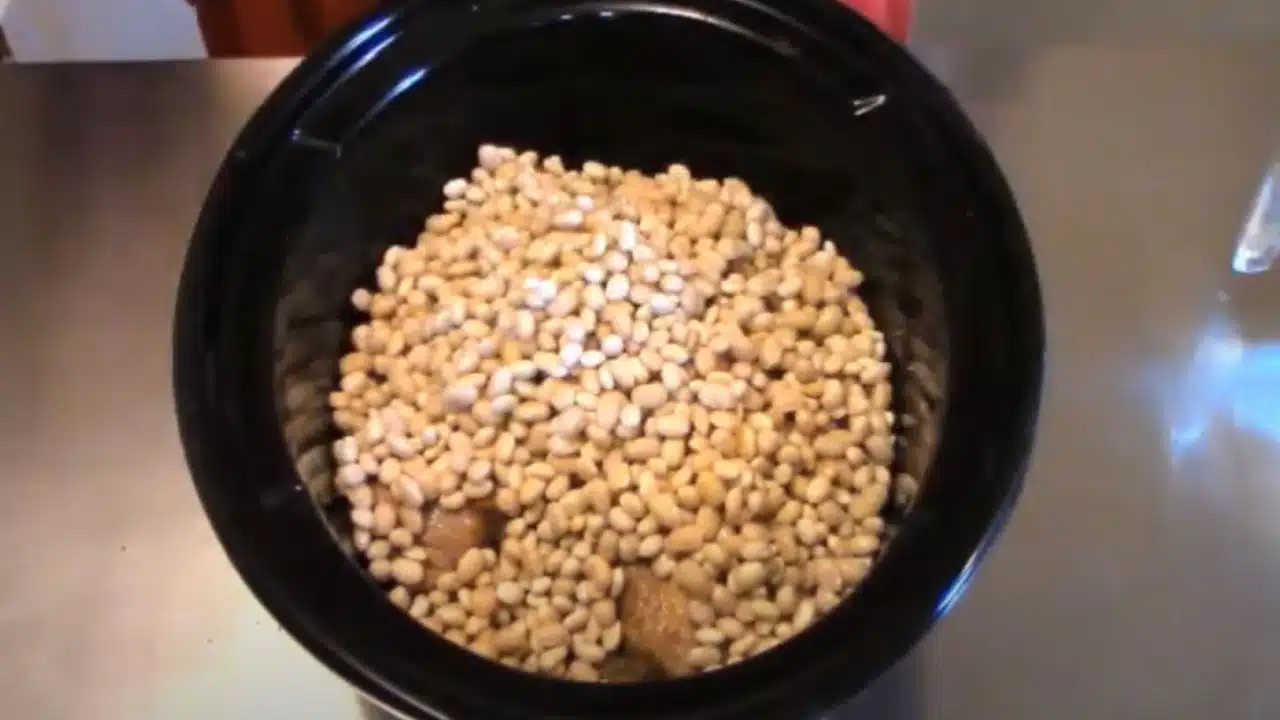
Combine in Slow Cooker:
Pour the prepared gravy over the oxtails in the slow cooker, ensuring they are fully submerged.
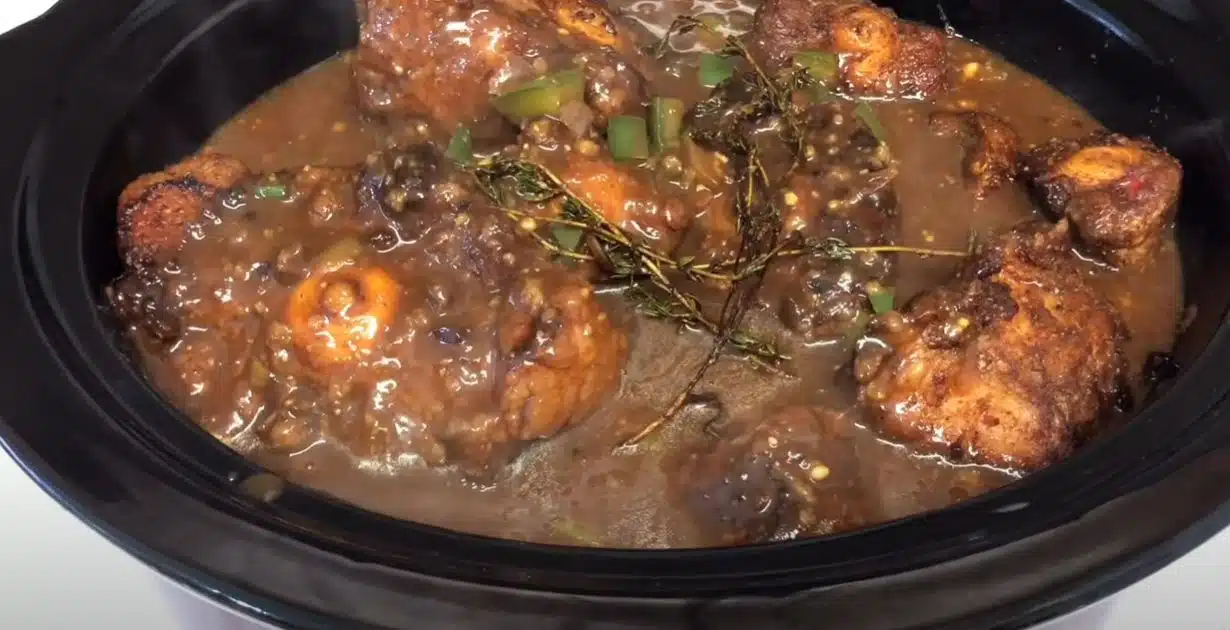
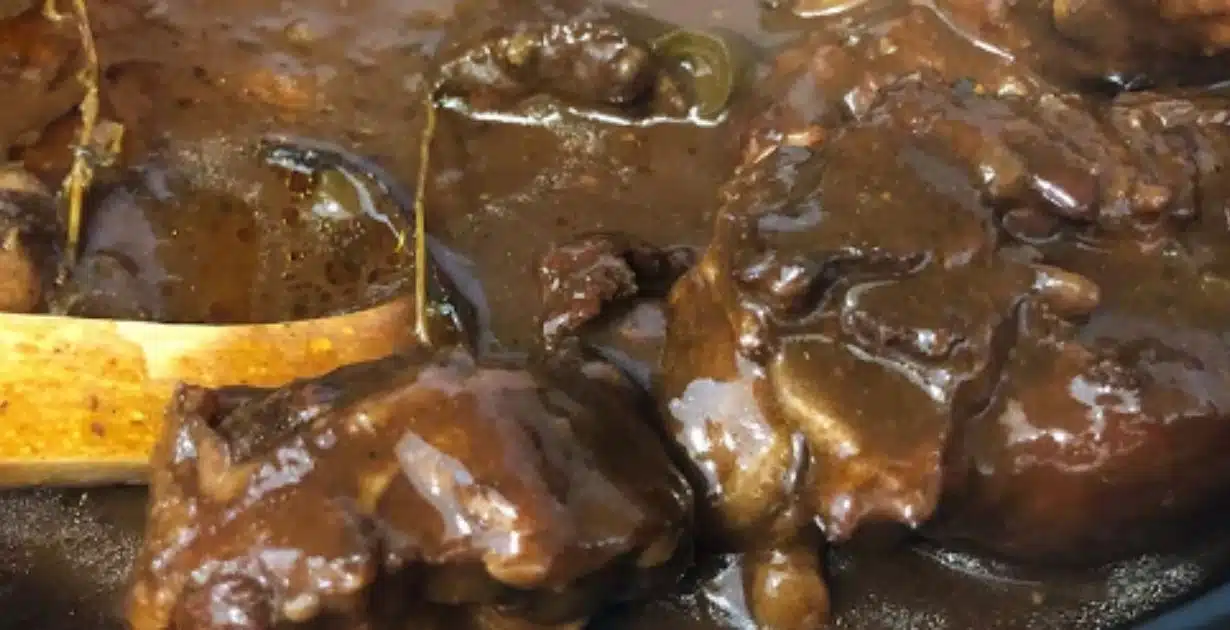
Cover and cook on low heat for about 8-10 hours or on high heat for 5-6 hours, until oxtails are tender and falling off the bone.
Additional Notes
This recipe emphasizes that slow cooking transforms oxtail into melt-in-your-mouth tender meat. Honestly, leftovers are even better as the flavors deepen overnight. I love making a big batch because it’s just as delicious the next day, if not better.
How to Serve Oxtails
This Southern-style oxtail recipe is best enjoyed with:
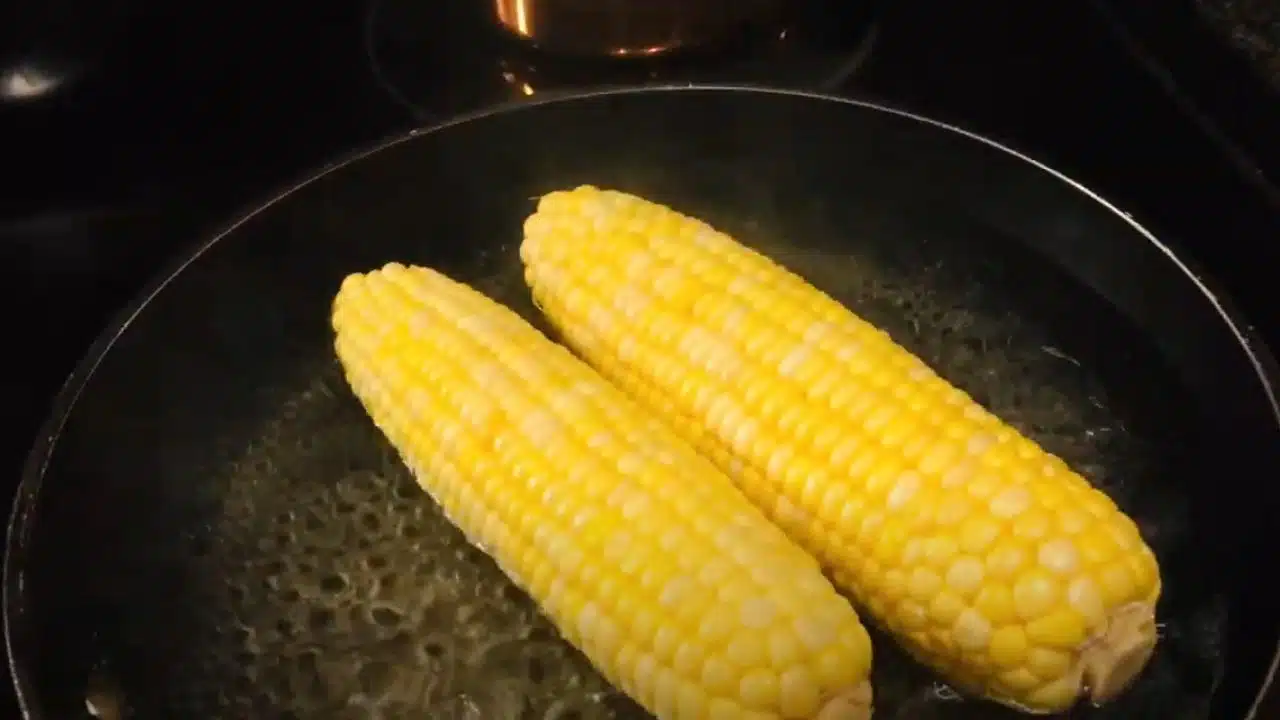
- Creamy mashed potatoes
- Steamed white rice
- Buttery cornbread
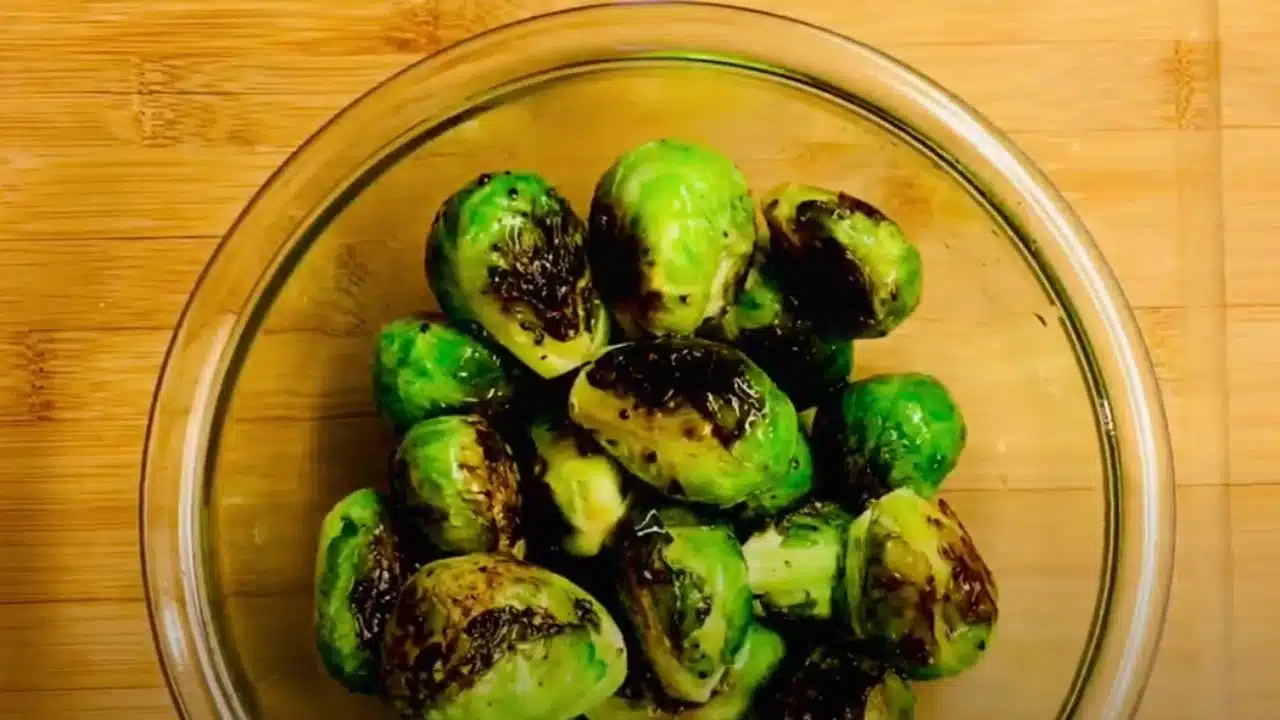
- Roasted vegetables
Expert Tips for the Best Oxtails
- Use Bone-In Oxtails – The bones release gelatin, making the broth richer. Trust me, it’s the bones that make the dish so special!
- Sear for Maximum Flavor – Browning the meat locks in juices and adds depth. I learned this tip the hard way, skipping it once—and I won’t make that mistake again.
- Taste & Adjust Seasoning – Before serving, taste and tweak the spices. Don’t be afraid to adjust based on your preference!
Frequently Asked Questions
What is the best way to soften oxtail?
The best way to soften oxtail is through slow cooking. Cooking it on low for 8-10 hours in a crock pot allows the collagen and connective tissue to break down, resulting in tender, flavorful meat. I’ve tried marinating overnight in vinegar, and it makes a big difference in tenderness.
How do you remove fat from oxtail stew?
To remove excess fat from oxtail stew, you can:
- Skim the fat off the top using a spoon while it’s cooking.
- Let the stew cool and refrigerate it – the fat will solidify on top, making it easy to remove.
- Use a fat separator to strain out the fat while keeping the rich broth intact.
Can I use frozen oxtails in the crock pot?
Yes, but it’s best to thaw them first for even cooking. If cooking from frozen, add an extra hour to the cooking time. However, for the best flavor and texture, always sear thawed oxtails before adding them to the crock pot.
How long can cooked oxtails sit out?
Cooked oxtails should not sit out for more than 2 hours at room temperature. After that, bacteria can start to grow. Store leftovers in the refrigerator within two hours to keep them safe to eat.
How do you remove bones from stew?
Once the oxtails are fully cooked and tender, the bones will naturally separate from the meat. Simply use a fork or tongs to pull the bones out before serving. If making a smooth stew, strain the liquid to catch any small bone fragments.
Final Thoughts
Cooking oxtails in a crock pot is a game-changer for those who love bold, comforting flavors. Whether you’re making Jamaican-style oxtails, braised oxtails, or classic slow-cooked oxtail stew, this method guarantees an easy and delicious result every time. Trust me, I make this dish often, and it never disappoints!
Have you tried this recipe? Drop a comment below and let us know how it turned out! If you love slow-cooked meals, check out our other crock pot recipes for more inspiration.