Air fryers have revolutionized the way we cook, offering a healthier, faster, and more convenient method for preparing meals. One of the best things you can make in an air fryer is thin pork chops. Cooking thin pork chops in the air fryer is a fast, easy, and healthy way to enjoy a delicious meal. Not only do they cook quickly, but they come out tender and juicy with a perfect golden-brown crust.
If you haven’t already, give it a try my recipe. Your air fryer pork chops might just become your new favorite dinner. Enjoy!

Why Should you Chose in Air Fryer to Cook Thin Pork Chops
Before we get into cooking times, let’s talk about why air frying thin pork chops is such a great choice.
Speed: Air fryers cook food faster than ovens, and pork chops are no different. You can have tender, crispy pork chops in 10-15 minutes, depending on their thickness.
Healthier Cooking: Air frying uses little to no oil, making it a healthier alternative to pan-frying or deep-frying.
Convenience: The air fryer does the hard work for you, so you don’t need to babysit your pork chops. You just pop them in and let the air fryer work its magic.
How Long to Cook Thin Pork Chops in an Air Fryer
The Ideal Temperature
The key to perfect thin pork chops in the air fryer is cooking at the right temperature. We recommend setting your air fryer to 375°F (190°C) for the best results. At this temperature, your pork chops will cook evenly and get crispy without drying out.
Cooking Time
The cooking time for thin pork chops (about ½ inch thick) in the air fryer is generally between 8 to 12 minutes, depending on the exact thickness of your chops and the air fryer model you’re using. Here’s a guide for cooking thin pork chops in an air fryer:
- Thin Pork Chops (1/2 inch thick): 8 to 10 minutes
- Medium Thin Pork Chops (3/4 inch thick): 10 to 12 minutes
Flip the pork chops halfway through cooking to brown both sides evenly.
Internal Temperature of Pork Chops
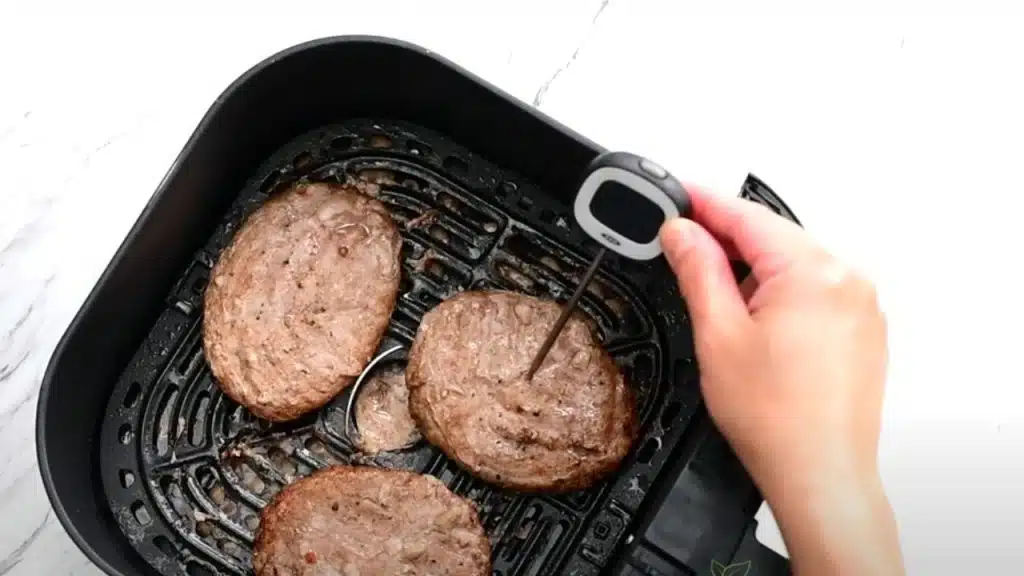
To ensure your thin pork chops are fully cooked, you should always check the internal temperature. Pork is safe to eat at 145°F (63°C). Use a meat thermometer if you’re unsure. This ensures your pork chops are both safe and juicy!
Rest Time
After cooking, let your pork chops rest for 3-5 minutes.This lets the juices spread, keeping the pork moist and tender.
Air Frying Thin Pork Chops Recipe
Ingredients

- Thin boneless pork chops
- Olive oil
- Pork chop rub (you can use a store-bought rub or make your own)
Instructions
- Set your air fryer to 375°F (190°C) and preheat it for a few minutes.
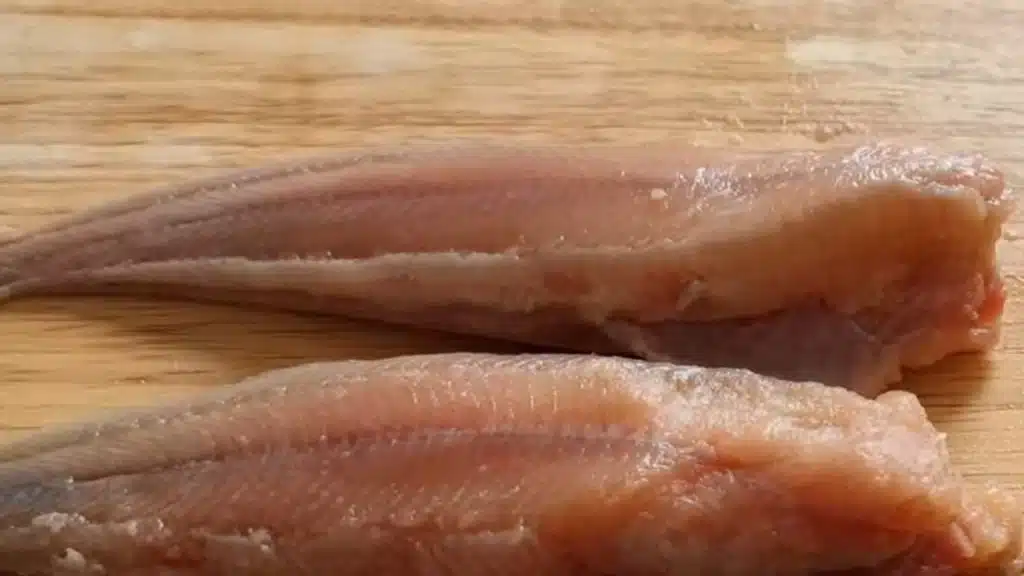
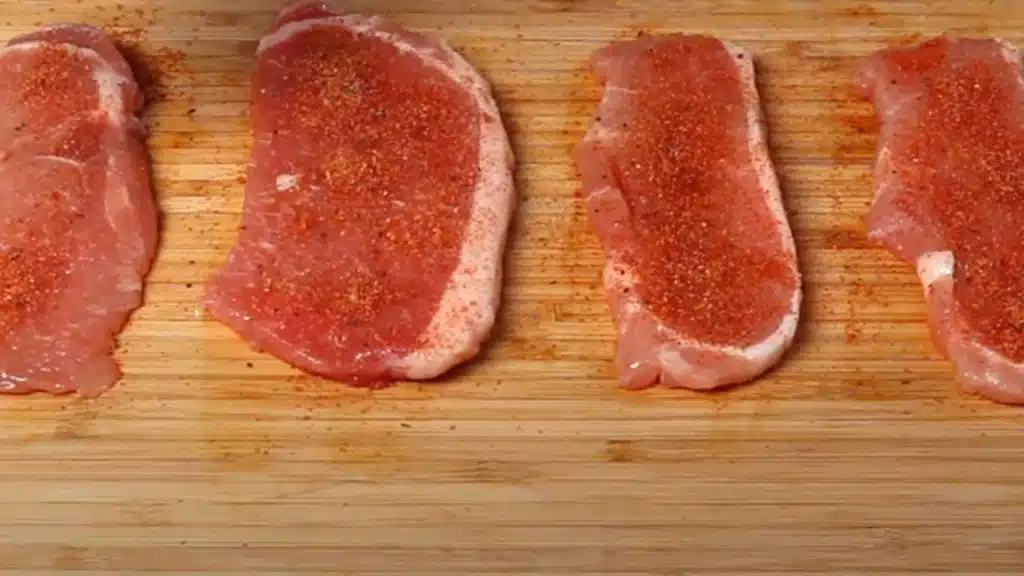
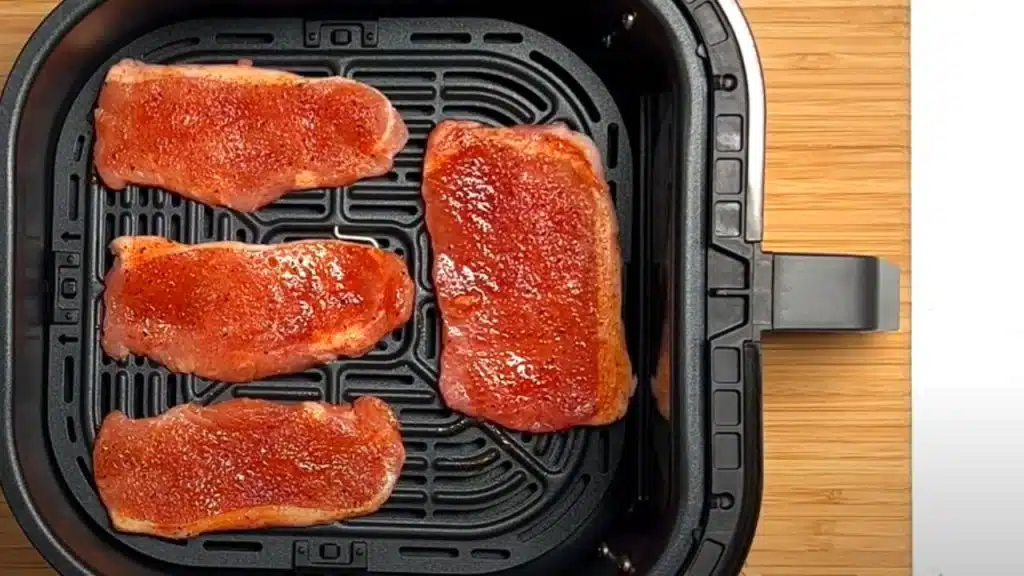
- Take the thin boneless pork chops and pat them dry with a paper towel to remove excess moisture.
- Brush both sides of the pork chops with olive oil to help the seasoning stick and enhance flavor.

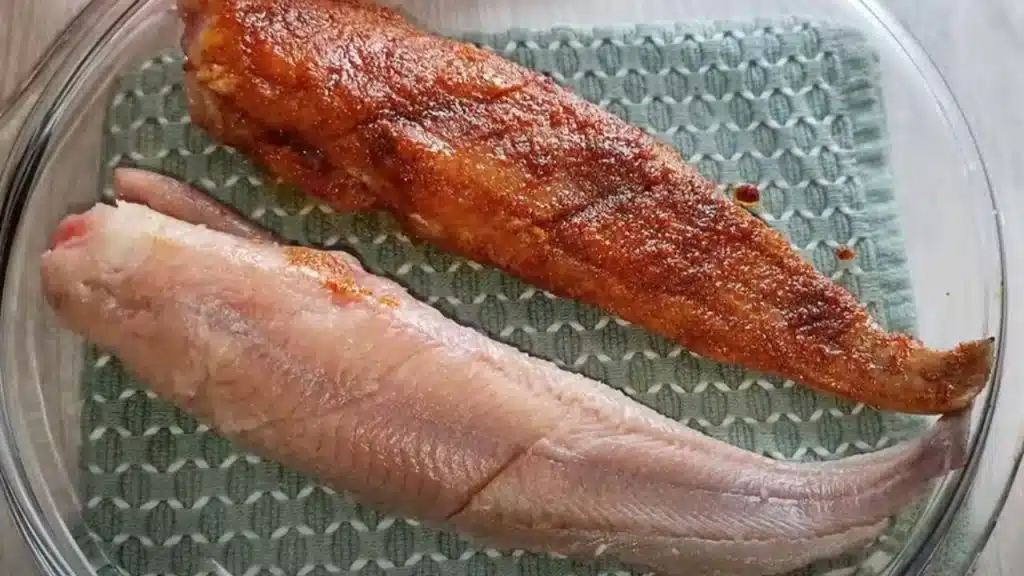
- Generously apply the pork chop rub on both sides of the pork chops. Make sure to rub it in well for even coverage.
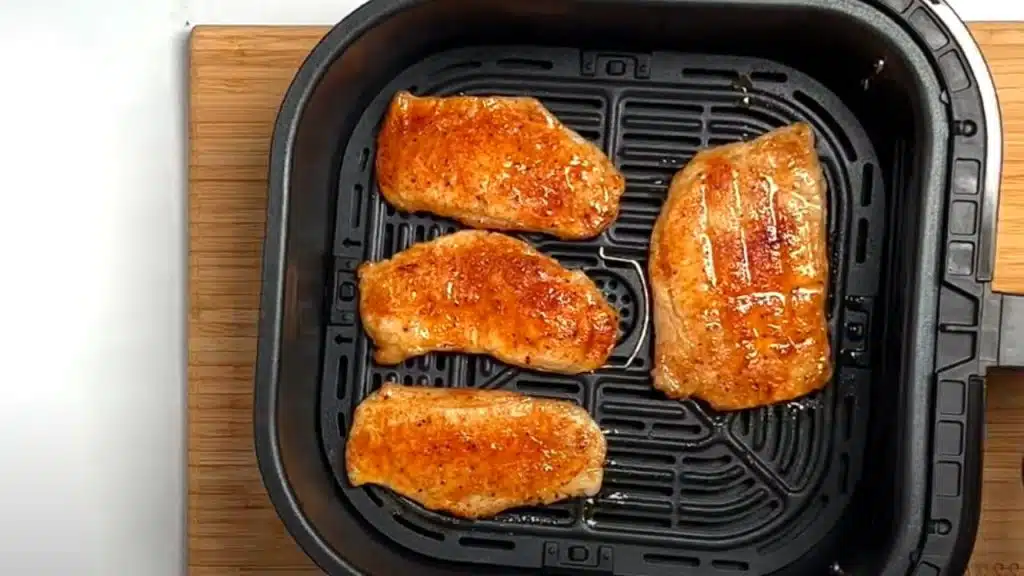
- Place the seasoned pork chops in the air fryer basket in a single layer.
- Cook for 8 minutes, flipping them halfway through the cooking time to ensure even cooking.
- After 8 minutes, check if they are cooked through. The internal temperature should reach at least 145°F (63°C).
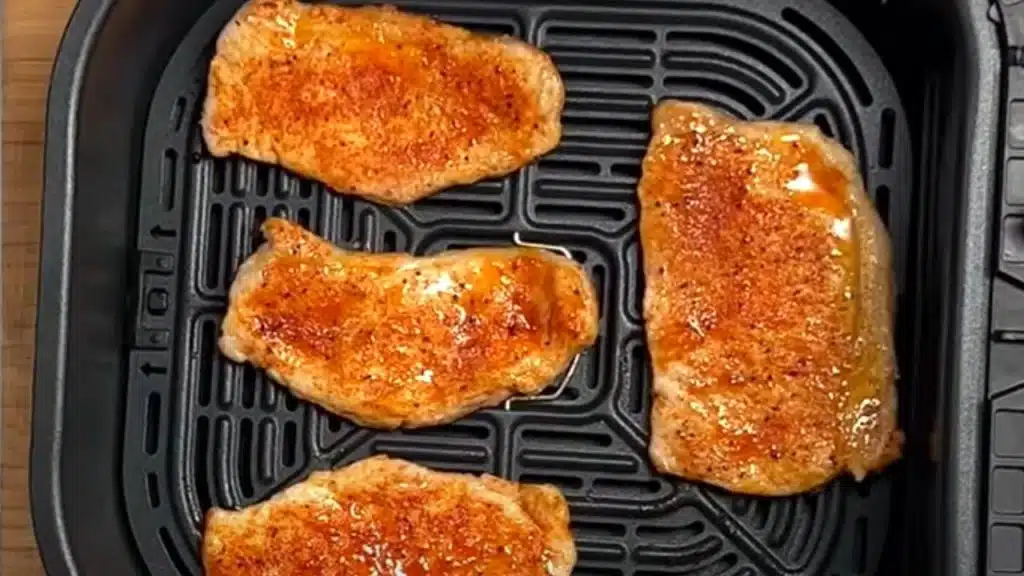
- Once cooked, remove the pork chops from the air fryer and let them cool for a couple of minutes before serving.
Tips for Perfect Air Fried Thin Pork Chops
While air frying is pretty straightforward, these tips will help take your pork chops to the next level:
- Avoid Overcrowding: If you’re making more than two chops, cook them in batches. Overcrowding can lead to uneven cooking.
- Use Parchment Paper or a Liner: This helps reduce sticking and simplifies cleanup
- Marinate for Extra Flavor:If time allows, marinate the pork chops for 30 minutes to 1 hour before cooking to enhance their flavor and tenderness.
- Seasoning Variations: Don’t hesitate to experiment with your seasonings! Try adding a little lemon zest, cayenne pepper, or a touch of brown sugar for a sweet and savory flavor profile.
What to Serve with Thin Air Fried Pork Chops?
Thin pork chops are versatile and complement a wide range of sides. Here are some ideas:
- Mashed potatoes: Creamy and comforting, they make an excellent side dish.
- Roasted vegetables: Consider carrots, zucchini, and bell peppers.
- Coleslaw: A crunchy, tangy slaw adds a great contrast.
- .Rice or Quinoa: A hearty grain side to complete your meal.
Frequently Asked Questions (FAQs)
Thin pork chops typically take about 8-10 minutes to cook in an air fryer at 375°F (190°C).
Yes, it’s a good idea to season your pork chops with salt, pepper, and any other spices you like before cooking for extra flavor.
Yes, but don’t overcrowd the basket. Make sure there’s enough space between each chop for air to circulate. This ensures they cook evenly.
A light spray of oil can help them brown and become crispy, but it’s not necessary. You can cook them without oil for a healthier option.
Enjoy More Air Fryer Recipe
Mini Corn Dogs in Air Fryer
Cook Chicken Livers in Air Fryer
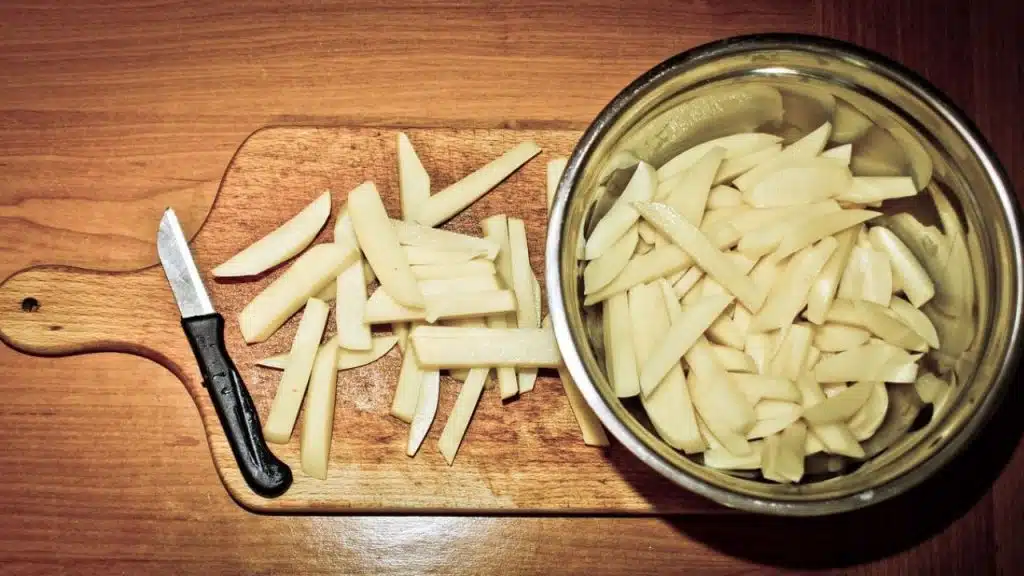
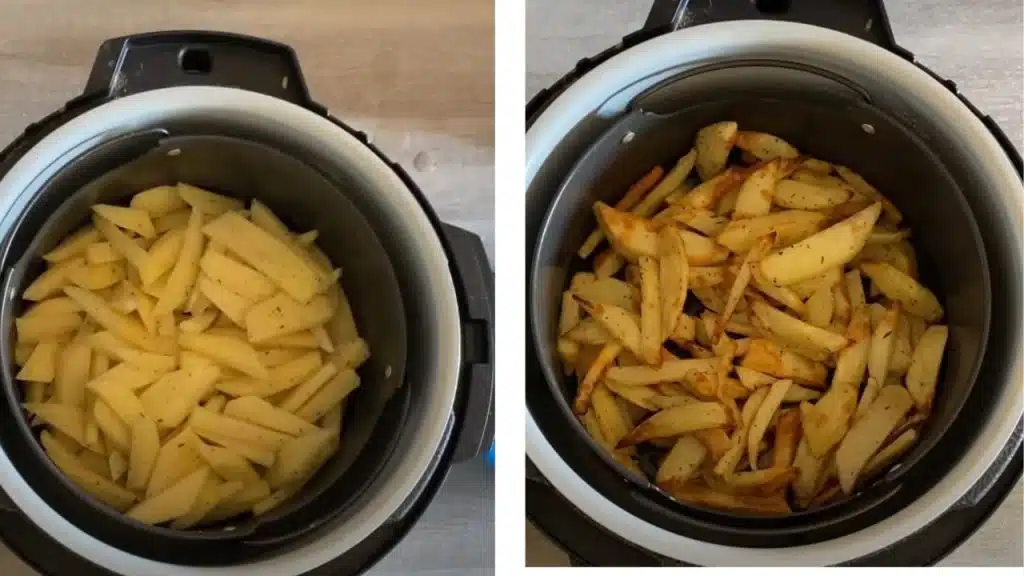
Cook Frozen Potato Wedges in an Air Fryer
Cook Roast Lamb in Air Fryer
Put Frozen Garlic Bread in the Air Fryer
Chicken Wings Air Fryer
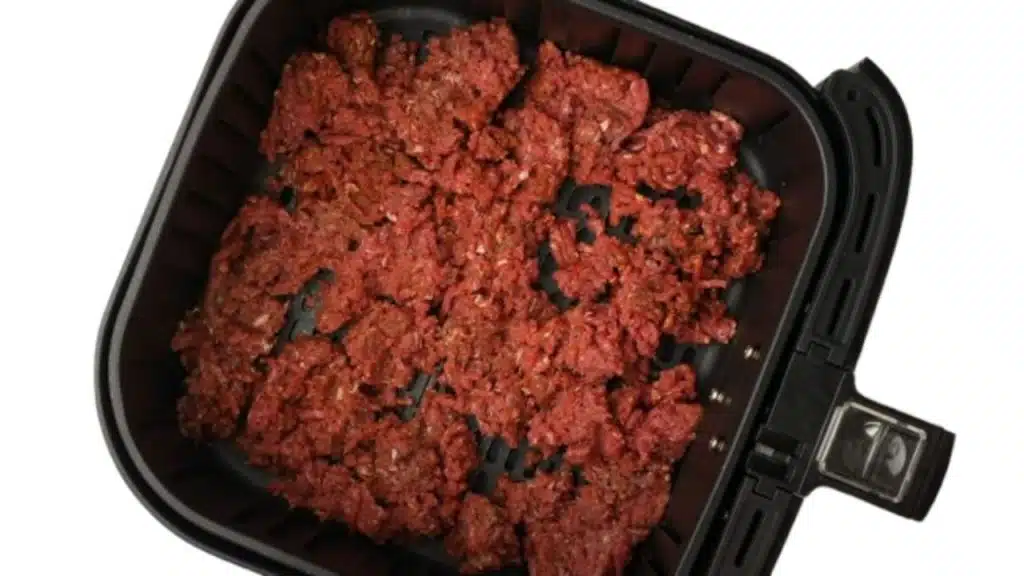
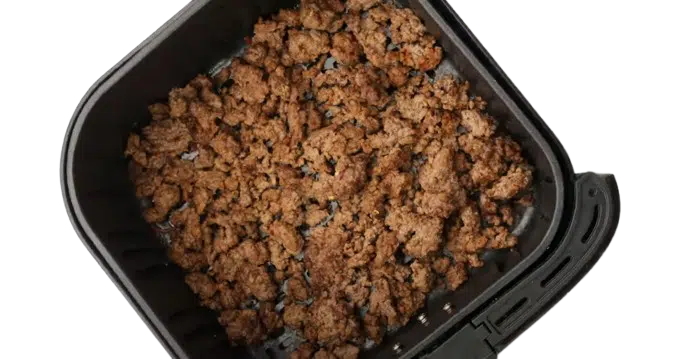
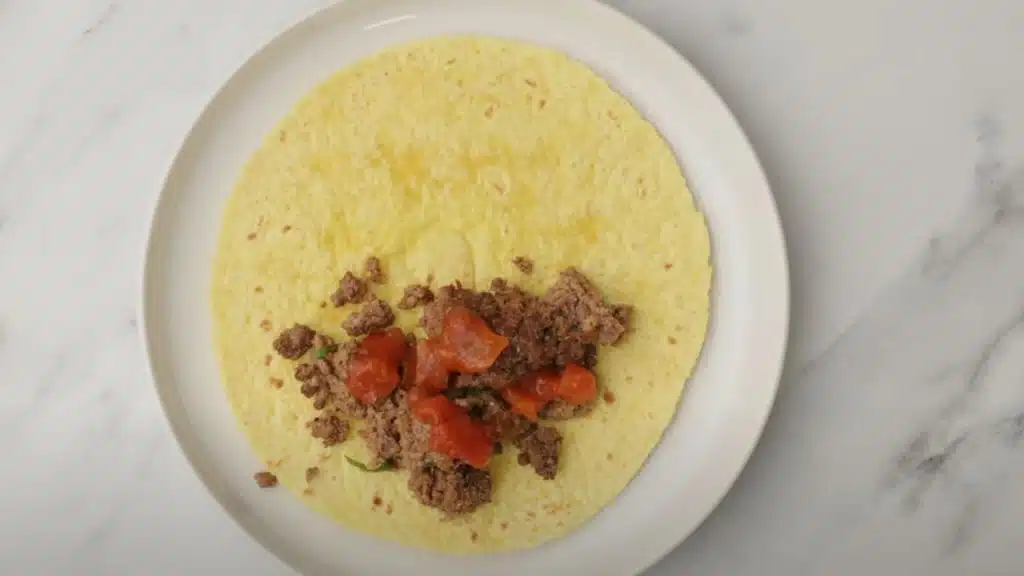
Cook Ground Beef in an Air Fryer
Cook Catfish in an Air Fryer